Difference between revisions of "Dreadwyrm Armor"
Jump to navigation
Jump to search
Freedom4556 (talk | contribs) m (→Accessories) |
(→Images) |
||
| (10 intermediate revisions by 2 users not shown) | |||
| Line 1: | Line 1: | ||
<noinclude>{{see also|Level 50 Gear Guide| | <noinclude>{{see also|Level 50 Gear Guide}} | ||
{{see also|Replica Dreadwyrm Glamour Sets|Dreadwyrm Weapons|Dreadwyrm Accessories}} | |||
Drops in {{questlink|raid|The Final Coil of Bahamut}}.</noinclude> | |||
{| {{STDT|equip align-center sortable}} | |||
{| | {{armor table header}} | ||
{{armor table row|Dreadwyrm Coronet of Fending}} | |||
{{armor table row|Dreadwyrm Barbut of Maiming}} | |||
{{armor table row|Dreadwyrm Circlet of Striking}} | |||
{{armor table row|Dreadwyrm Circlet of Scouting}} | |||
{{armor table row|Dreadwyrm Chapeau of Aiming}} | |||
{{armor table row|Dreadwyrm Petasos of Casting}} | |||
{{armor table row|Dreadwyrm Hood of Healing}} | |||
{{armor table row|Dreadwyrm Armor of Fending}} | |||
{{armor table row|Dreadwyrm Mail of Maiming}} | |||
{{armor table row|Dreadwyrm Cyclas of Striking}} | |||
{{armor table row|Dreadwyrm Cyclas of Scouting}} | |||
{{armor table row|Dreadwyrm Tabard of Aiming}} | |||
| | {{armor table row|Dreadwyrm Robe of Casting}} | ||
{{armor table row|Dreadwyrm Robe of Healing}} | |||
{{armor table row|Dreadwyrm Gauntlets of Fending}} | |||
| | {{armor table row|Dreadwyrm Vambraces of Maiming}} | ||
{{armor table row|Dreadwyrm Bracers of Striking}} | |||
{{armor table row|Dreadwyrm Bracers of Scouting}} | |||
| | {{armor table row|Dreadwyrm Bracers of Aiming}} | ||
| | {{armor table row|Dreadwyrm Gloves of Casting}} | ||
{{armor table row|Dreadwyrm Gloves of Healing}} | |||
{{armor table row|Dreadwyrm Sarouel of Fending}} | |||
| | {{armor table row|Dreadwyrm Breeches of Maiming}} | ||
{{armor table row|Dreadwyrm Slops of Striking}} | |||
| | {{armor table row|Dreadwyrm Slops of Scouting}} | ||
{{armor table row|Dreadwyrm Breeches of Aiming}} | |||
{{armor table row|Dreadwyrm Tonban of Casting}} | |||
| | {{armor table row|Dreadwyrm Tonban of Healing}} | ||
{{armor table row|Dreadwyrm Sabatons of Fending}} | |||
{{armor table row|Dreadwyrm Greaves of Maiming}} | |||
| | {{armor table row|Dreadwyrm Boots of Striking}} | ||
{{armor table row|Dreadwyrm Boots of Scouting}} | |||
| | {{armor table row|Dreadwyrm Greaves of Aiming}} | ||
{{armor table row|Dreadwyrm Shoes of Casting}} | |||
| | {{armor table row|Dreadwyrm Shoes of Healing}} | ||
| | |}<noinclude> | ||
| | |||
| | |||
| | |||
| | |||
| | |||
| | |||
| | |||
| | |||
| | |||
| | |||
| | |||
| | |||
| | |||
| | |||
| | |||
| | |||
| | |||
| | |||
| | |||
| | |||
| | |||
| | |||
| | |||
|} | |||
=== | ===Images=== | ||
<gallery heights=200px mode=packed> | |||
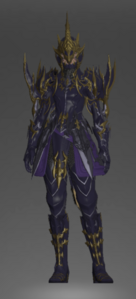
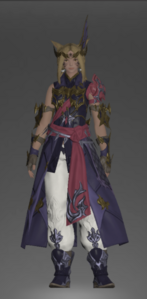
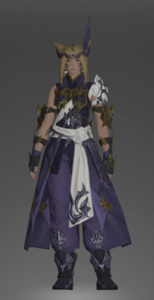
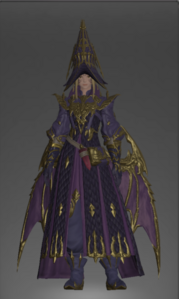
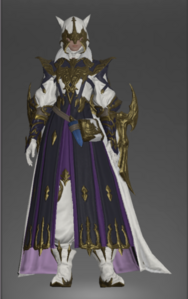
File:Dreadwyrm fending attire.png|Dreadwyrm fending attire | |||
File:Dreadwyrm maiming attire.png|Dreadwyrm maiming attire | |||
File:Dreadwyrm striking attire.png|Dreadwyrm striking attire | |||
File:Dreadwyrm scouting attire.png|Dreadwyrm scouting attire | |||
File:Dreadwyrm aiming attire.png|Dreadwyrm aiming attire | |||
File:Dreadwyrm casting attire.png|Dreadwyrm casting attire | |||
File:Dreadwyrm healing attire.png|Dreadwyrm healing attire | |||
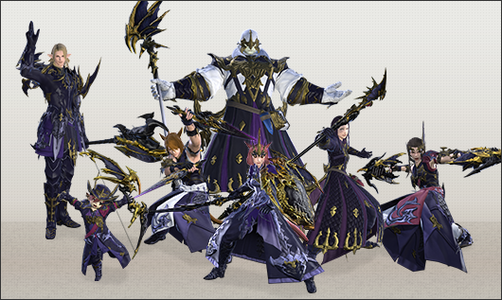
File:final coil gear1.png | |||
</gallery> | |||
<gallery heights=700px widths=350px mode=packed> | |||
File:Coils of Bahamut Gear big.jpg | |||
</gallery> | |||
| | |||
[[Category:Armor Sets]] | [[Category:Armor Sets]]</noinclude> | ||
Latest revision as of 03:22, 13 April 2024
- See also: Level 50 Gear Guide
- See also: Replica Dreadwyrm Glamour Sets, Dreadwyrm Weapons and Dreadwyrm Accessories
Drops in ![]() The Final Coil of Bahamut.
The Final Coil of Bahamut.

