Difference between revisions of "Containment Bay S1T7"
| Line 21: | Line 21: | ||
| req-quest = When the Bough Wakes | | req-quest = When the Bough Wakes | ||
| patch = 3.2 | | patch = 3.2 | ||
| echo = trial | |||
}} {{TOC limit|3}} | }} {{TOC limit|3}} | ||
==Strategy== | ==Strategy== | ||
Revision as of 08:21, 11 December 2022
 This article is about the optional story-mode level 60 trial. For the level 60 challenge-mode trial, see Containment Bay S1T7 (Extreme). For the level 90 Faux Hollows trial, see Containment Bay S1T7 (Unreal).
Containment Bay S1T7
- Level
- 60 (Sync: 60)
- Item Level
- 190
- Difficulty
- Normal
- Party size
- Full Party
8 man • 2 2
2  4
4 
- Unsyncing
- Allowed
- Time limit
- 60 minutes
- Duty Finder
- Trials (Heavensward)
- Roulette
- Trials
- Tomestones
 10
10 - Req. quest
 When the Bough Wakes
- Entrance
- Azys Lla (X:25.4, Y:22.5, Z:8.4)
- Location
- Containment Bay S1T7
- Region
- Abalathia's Spine
- Patch
- 3.2
 The Echo
- On wipe: +10% (max +50%)
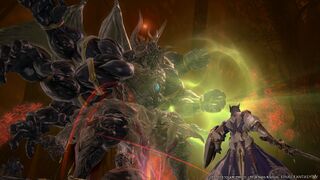
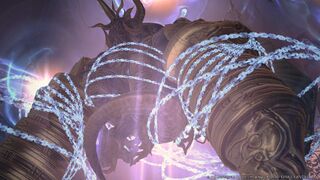
“Sephirot, the Fiend, was a deity once worshipped by a tree-like race native to Meracydia. Brought into being for the sole purpose of repelling the Allagan invasion, Sephirot inflicted ruinous losses upon the imperial army before finally being subdued and imprisoned in the central facility of Azys Lla. And now, millennia later, this immensely powerful entity threatens to awaken, his vengeful dreams disturbed by the careless ambitions of Archbishop Thordan VII. Topple the first pillar of the Warring Triad, or wheresoever his colossal shadow falls shall be visited by unthinkable catastrophe!
— In-game description
Containment Bay S1T7 is a level 60 trial introduced in patch 3.2.
Strategy
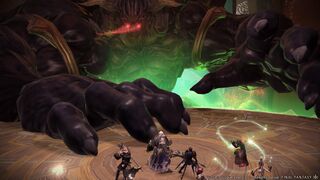
 The Fiend: Sephirot
He has no casting bars or ground indicators, so this fight is extra fun!
Phase 1
Generally, try and keep DPS and healers stacked up behind him for this phase.
- Fiendish Rage - 1 player is marked with the 4 arrows indicator. All other players should stack on them to share the damage.
- Ratzon - Approximately 6 players will get a small green AoE mark on them. These players should spread out to avoid stacking the damage taken.
- Ain - The arm air push. Sephirot will turn to face a random player and hold very still with his arms up. This attack has a 180-degree blast radius, has no cast and gives a
 Vulnerability Up debuff on hit, but can easily avoided by stacking behind him.
 - At the phase change (about 60% hp) he'll spawn Cochma and Binah adds, burn down Binah first, then Cochma.
Phase 2
- This starts at around 60% health - be careful as you can fall off the platform during this phase.
- Stay in the center as best you can.
- Pillar of Mercy - fist strikes on the blue circles with knockback - stand next to them (not inside otherwise you take the dmg) on the inside of the arena to avoid being knocked off the platform.
- He puts individual markers on two players which look like giant beams of light. He will do a large cleave at these two. Various strategies can be applied, but easiest is just strafing to a side, having marked players go one way, and non-marked go the other way. Use of waypoints is recommended.
- Kill the Storm of Words add quickly, before it casts Revelation - if it casts Revelation you'll wipe. Once Storm of Words is dead, focus on killing the Binah/Cochma adds.
- It will drop an air current on death, when it's marked by arrows stand inside to avoid the arm sweep.
- After the arm sweep he will charge up a beam, spread out before restacking in the center.
- He will summon two large red pillars. One person needs to stand in each pillar to avoid raid damage (Tanks are a good choice for this.)


