Difference between revisions of "Battle on the Big Bridge"
CrazyDudeFF (talk | contribs) m (Added note about item levels) |
Freedom4556 (talk | contribs) (Undo revision 518278 by CrazyDudeFF (talk)) Tag: Undo |
||
| Line 25: | Line 25: | ||
==Strategy== | ==Strategy== | ||
===[[File:Aggressive difficulty r6.png|link=]] [[Gilgamesh]]=== | ===[[File:Aggressive difficulty r6.png|link=]] [[Gilgamesh]]=== | ||
This fight has 3 distinct phases, during which Gilgamesh uses the following moves and mechanics. | This fight has 3 distinct phases, during which Gilgamesh uses the following moves and mechanics. | ||
Revision as of 20:48, 19 January 2023
- See also: Battle in the Big Keep and Kugane Ohashi
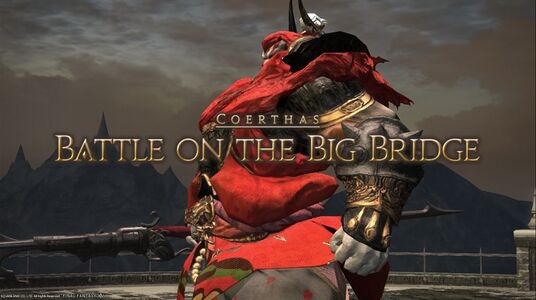
Battle on the Big Bridge
- Level
- 50 (Sync: 50)
- Item Level
- 50
- Difficulty
- Normal
- Party size
- Full Party
8 man • 2 2
2  4
4 
- Unsyncing
- Allowed
- Time limit
- 60 minutes
- Duty Finder
- Trials (A Realm Reborn)
- Roulette
- Trials
- Tomestones
 10
10 - Req. quest
 The Three Collectors
- Entrance
- Coerthas Central Highlands (X:31.2, Y:31.0)
- Location
- Griffin Crossing
- Region
- Coerthas
- Patch
- 2.2
 The Echo
- Permanent +10%
“In his quest to acquire the strongest of weapons, the notorious duelist Gilgamesh has long eluded authorities - until now. Forced to take a stand at the impassable Griffin Crossing, he has challenged you to a "duel." Triumph, and he shall yield his latest prize. But should you fail, your weapons are forfeit.
— In-game description
Battle on the Big Bridge is a level 50 trial introduced in patch 2.2. It is part of the Hildibrand questline.
Strategy
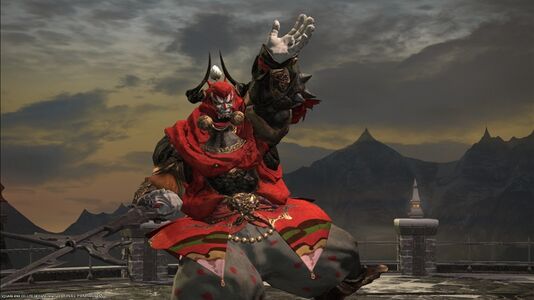
 Gilgamesh
This fight has 3 distinct phases, during which Gilgamesh uses the following moves and mechanics.
Phase 1
Abilities
- Bitter End: a frontal cone AoE attack that has fairly long cast time. It can be easily avoided by moving out of the way.
- Pradamante[1]: Unmarked instant cast AoE on a random player. Deals moderate damage to all players caught in it.
- Toad: A random player will be turned into a
 Toad for 20 seconds causing "Transformed into a toad and unable to execute actions.". Will be chased by Enkidu, who will deal heavy damage to the player if they land a hit. Kite Enkidu around until the debuff wears off.
 - Minimum: Player will be
 mini'd for 20 seconds with a
  Heavy debuff. Gilgamesh will chase them and use Bitter End repeatedly.
 - Rocket Punch: Deals moderate damage and applies a
 Confusion debuff, which will cause the afflicted player to attack the nearest party member until it falls off or they are healed to full.
 - Grovel: Used around ~50%. After the long cast, he will do a small AoE centered on himself.
- Bomb: Used around ~40%. Does a small AoE centered on himself and runs away. Signals the start of Phase 2.
Top off players afflicted with Confusion so they will stop attacking other players.
Phase 2
Waves of adds spawn between the two boss rooms; just pull them all together and nuke them down.
Phase 3
Uses all abilities from Phase 1 except Grovel and Bomb. All status effects can now target multiple players, from 2-8.
Abilities
- Whirlwind Slash: AoE centered on the boss that deals moderate damage.
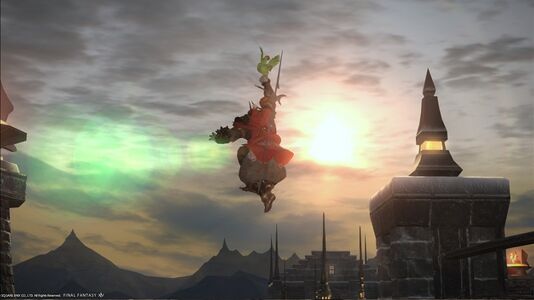
- Giga Jump: Marks a random player and after ~6 seconds leaps towards them, dealing damage to any players around them.
- Whirlwinds: Multiple Whirlwinds will spawn on the ground and remain for some time. Touching them causes them to explode and deal damage in an AoE around them.
Healers should keep regens up as it is possible for them to be repeatedly Toaded.
This phase will last the longest due to the damage decrease from Minimum affecting multiple players.
Avoid the Whirlwinds, especially while Toaded so you aren't killed by the chicken while you are knocked into the air.
Loot
- Faded Copy of Battle on the Big Bridge (Drops at a fixed rate.)
- Gilgamesh & Enkidu Card (Drops at a fixed rate.)
Images
Trivia
- ↑ This attack name is both a pun on Bradamante (Nael van Darnus' gunhalberd) and a reference to Excalipoor.


