The Cloud Deck (Extreme)
 This article is about the level 80 challenge-mode trial. For the optional story-mode level 80 trial, see The Cloud Deck.
The Cloud Deck (Extreme)
- Level
- 80 (Sync: 80)
- Item Level
- 510
- Difficulty
- Extreme
- Party size
- Full Party
8 man • 2 2
2  4
4 
- Unsyncing
- Allowed
- Time limit
- 60 minutes
- Duty Finder
- High-end Trials (Shadowbringers)
- Roulette
- Mentor
- Tomestones
 25
25 - Req. quest
 Forever at Your Side
- Location
- G-Savior Deck
- Region
- ???
- Stone, Sky, Sea
- Available
- Patch
- 5.5
 The Echo
- On wipe: +5% (max +25%)
“The climactic midair confrontation with the Diamond Weapon is one you will not soon forget. Nevertheless, Garlond Ironworks has provided a means by which you can relive those memories, albeit in a highly exaggerated fashion. Though nothing more than a simulation, it will demand every onze of mettle you can muster to overcome this enhanced version of an already formidable foe.
— In-game description
The Cloud Deck (Extreme) is a level 80 trial introduced in patch 5.5 with Shadowbringers.
Strategy
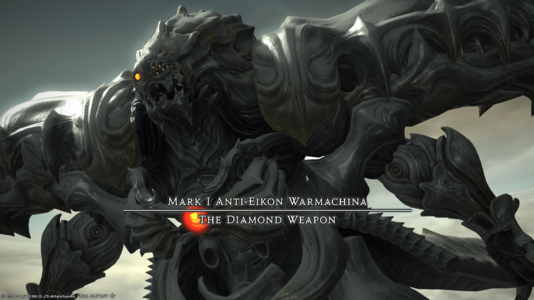
 Mark I Anti-Eikon Warmachina: The Diamond Weapon
Players should be aware that they can fall off or be knocked off the platform to their deaths. Players can be revived after a short delay.
Players should divide themselves into two light parties consisting of a tank, healer and two DPS. After the first pull, the teleporters will activate. Using these debuffs a player where they can't use them for 20 seconds.
Phase 1
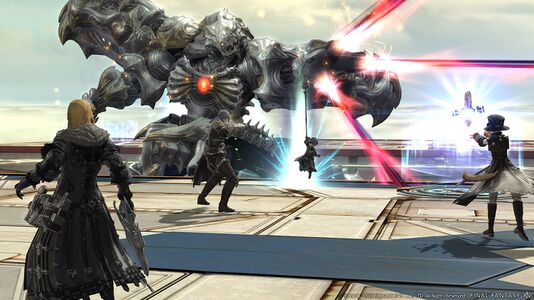
- Attack: Auto-attack. Targets the two players with the highest enmity and fires a laser at them. Tanks should be sure to hold enmity at all times.
- Diamond Rain: High raid-wide damage and gives a debuff. This hits based on how many people are on the platform, so one light party should move to the other platform to mitigate this.
- Adamant Purge: The boss will target a platform for a cleave, indicated by three glowing spikes. Players will need to move to the opposite platform to avoid. The boss will then either glow from its chest or its shoulders. If it glows from its chest, players should stack together to soak the damage from its laser. If its shoulders are glowing, players should spread out to avoid overlapping large AoEs. After Adamant Purge, the players without the teleport debuff should move to the other platform.
- Photon Burst: The two highest enmity players are targeted with Flare markers, most likely the tanks. The tanks should move to the corners away from the party and pop a cooldown, while the other players should move to the opposite side of their platform to avoid damage. The boss will fire lasers at the tanks right after this so healers should be ready for this.
The boss will use another Adamant Purge, but only the cleave portion. Players should move to the safe platform. Following this, non-debuffed players should move to the other platform to mitigate another Diamond Rain, followed by more tank lasers. The boss will follow this up with another Adamant Purge, this time with the stack or split.
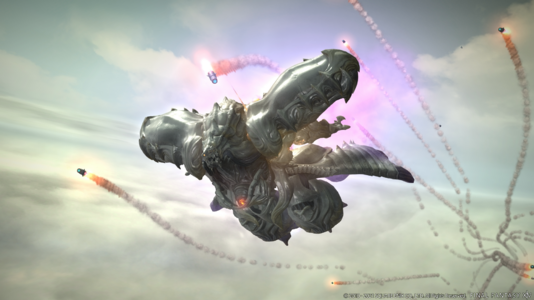
- Code Chi-XI-Stigma: The boss will transform, losing its armor.
Phase 2
- Articulated Bits: A knockback circle will spawn on both platforms and players will be proximity tethered to Articulated Bits. Players need to be far enough away from their tethered bits to turn their tether purple and stand next to the knockback circle to avoid getting knocked off the platform. If players are tethered to a bit on the opposite platform, they simply need to avoid the knockback. If players are tethered to a bit on their platform, they need to get knocked to the other side. Players should stand on the edge next to the knockback circle to get thrown to the other platform to get enough distance on their tether.
- Airship's Bane: Targets a platform and destroys it. Players should move to the safe platform.
- Outrage: High raid-wide damage, mitigate and heal.
- Auri Arts: The boss will face one of the ends of the platforms, and zigzag across to the other side. Players should use the triangles on the edge of the platform as a safe zone. The triangle behind the boss is where players should stack. After this the boss will hover over the center of the arena and face an orb on one of the ends of the platform and charge to it, causing an explosion on that side of the platform. Players need to identify which way the boss is facing and stand on the opposite edge of the orb. The boss will follow this up with an Outrage, so be ready to heal.
- Auri Doomstead: A heavy-hitting tank buster and a debuff. Tanks need to swap between these attacks, so the off-tank should provoke during the cast.
- Auri Arts 2: The boss will summon either 1 or 2 orbs, plus one over the center of the arena and jump to one side of the platform. If the boss summons one orb, players should move to the edge the boss is at to avoid damage. If the boss summons two orbs, players should move to the opposite edge to avoid when the boss charges through the center of the platform then jumps back and slams the ground.
- Vertical Cleave: The boss leaps to the orb above the platform and slam down, causing knockback. Players will need to line up with the corner and stand close to the attack to avoid getting thrown off the arena, or pop a knockback resistance. The boss will cast another Outrage and summon more Articulated Bits.
- Articulated Bits: The bits will be summoned on one end of one side of the platform and fire a laser. Players should move to the other side to avoid. The boss will also use Auri Arts, so players will need to move to a safe triangle. If the boss is facing into the safe side, move one triangle down from center, on the boss's flank. The bits will move at this point and fire again and the boss will attack one side of the platform. Players need to stand between the bits attacks on the safe side of the platform. After this the boss will follow up with another Auri Doomstead, so be ready to heal.
- Articulated Bits/Auri Arts 2: Players need to be ready to move to one edge of the arena to avoid the boss, while avoiding the lasers from the bits. The boss will use Vertical Cleave and the bits will move to one side of the arena, creating a safe zone on half of the arena. Players will need to get knocked to the safe side of the platform or use a knockback resistance. This is followed up with an Outrage, then the boss will transform back, the other platform will return and the boss will move between the platforms.
Phase 3
- Flood Ray: All players will be targeted and numbered. The boss will fire a wide conal attack that hits players with high damage and a Magic Vulnerability Up debuff. If a player is hit by more than one of these attacks, they will die. A common strategy to avoid this is to have even marked players on one platform while odds are on another. The even markers are red, so players with even markers should move to the red platform. Players should then move to the very inner corners of the platforms to bait the wide conal attacks and create a thin safe zone in the center of their platforms. Once a player is hit by their laser, they should move back to the middle and the player that would be next in sequence should take their place (1 would be replaced with 3, 2 with 4, 5 with 7 and 6 with 8). The boss will then follow up with Photon Burst, so tanks should be ready to move to the inner corners with other players moving away.
- Articulated Bits/Adamant Purge - Bits spawn on one side of both platforms while the boss targets one platform. Players need to wait for the bits to fire before teleporting, then need to either stack or spread between the bits to avoid the boss's second attack. Non-debuffed players can move to the other platform for the Diamond Rain that follows this.
- Articulated Bits/Diamond Shrapnel: Players will be followed by a marker, while bits will target one side of the platform. Players should bait their marker to the unsafe side, wait for the AoEs to spawn, then teleport over to the opposite platform to avoid both the attack and the bits.
- Articulated Bits/Adamant Sphere: 4 meteor circles will spawn on each platform, and a player must stand in each to soak them, while also standing between the bits lasers.
These mechanics will repeat again, and then the boss will enrage and begin to cast Flood Ray. The boss needs to be defeated before this cast goes off or the party will wipe.
Loot
- See also: Diamond Zeta Weapons
- Each player will receive 2 Diamond Totem per kill. Collect 10 totems to exchange for a weapon or 99 for a Diamond Gwiber Trumpet at C'intana in Mor Dhona (X:22.7 Y:6.7).
 25 Allagan Tomestone of Poetics
- Diamond Weapon Card (Drops at a fixed rate.)
 Treasure Coffer
Achievements
This duty is associated with the following achievements:
| Name | Points | Task | Reward | Patch |
|---|---|---|---|---|
| Shine Bright | 10 | Defeat the Diamond Weapon on the Cloud Deck (Extreme). | - | 5.5 |
| Mightier than Diamond | 5 | Complete the Cloud Deck (Extreme) with a party of only blue mages, Silence Echo turned on, and Unrestricted Party turned off. | - | 6.45 |


